本章将介绍怎样在 Ubuntu20.04 TLS 下面安装 Tomcat7,详细步骤如下:
下载安装包
使用 wget 命令下载 Tomcat 安装包,如下:
hxstrive@ubuntu:~/Desktop$ wget https://archive.apache.org/dist/tomcat/tomcat-7/v7.0.64/bin/apache-tomcat-7.0.64.tar.gz
--2021-11-08 09:23:11--  https://archive.apache.org/dist/tomcat/tomcat-7/v7.0.64/bin/apache-tomcat-7.0.64.tar.gz
Resolving archive.apache.org (archive.apache.org)... 138.201.131.134, 2a01:4f8:172:2ec5::2
Connecting to archive.apache.org (archive.apache.org)|138.201.131.134|:443... connected.
HTTP request sent, awaiting response... 200 OK
Length: 8858187 (8.4M) [application/x-gzip]
Saving to: ‘apache-tomcat-7.0.64.tar.gz’

apache-tomcat-7.0.64.tar.gz  100%[===========================================>]   8.45M   396KB/s    in 48s

2021-11-08 09:24:00 (179 KB/s) - ‘apache-tomcat-7.0.64.tar.gz’ saved [8858187/8858187]
解压安装包
使用 tar -xvzf 命令将下载的 tomcat 安装包解压到当前目录,如下:
hxstrive@ubuntu:~/Desktop$ tar -xvzf apache-tomcat-7.0.64.tar.gz
apache-tomcat-7.0.64/bin/catalina.sh
......
apache-tomcat-7.0.64/webapps/manager/xform.xsl
启动 Tomcat
使用 cd 命令进入刚刚解压的 tomcat 目录,如下:
hxstrive@ubuntu:~/Desktop$ cd apache-tomcat-7.0.64/
hxstrive@ubuntu:~/Desktop/apache-tomcat-7.0.64$
执行“./bin/startup.sh ; tail -f logs/catalina.out”命令启动 tomcat,启动日志如下:
hxstrive@ubuntu:~/apache-tomcat-7.0.64$ ./bin/startup.sh ; tail -f logs/catalina.out
Using CATALINA_BASE:   /home/hxstrive/apache-tomcat-7.0.64
Using CATALINA_HOME:   /home/hxstrive/apache-tomcat-7.0.64
Using CATALINA_TMPDIR: /home/hxstrive/apache-tomcat-7.0.64/temp
Using JRE_HOME:        /usr/local/jdk1.8
Using CLASSPATH:       /home/hxstrive/apache-tomcat-7.0.64/bin/bootstrap.jar:/home/hxstrive/apache-tomcat-7.0.64/bin/tomcat-juli.jar
Tomcat started.
...
Nov 08, 2021 9:40:14 AM org.apache.catalina.startup.Catalina start
INFO: Server startup in 1426 ms
如果你启动 tomcat 后能看见“信息:Server startup in 1426 ms”提示信息,则说明 tomcat 启动成功。
tomcat广告位
验证 Tomcat
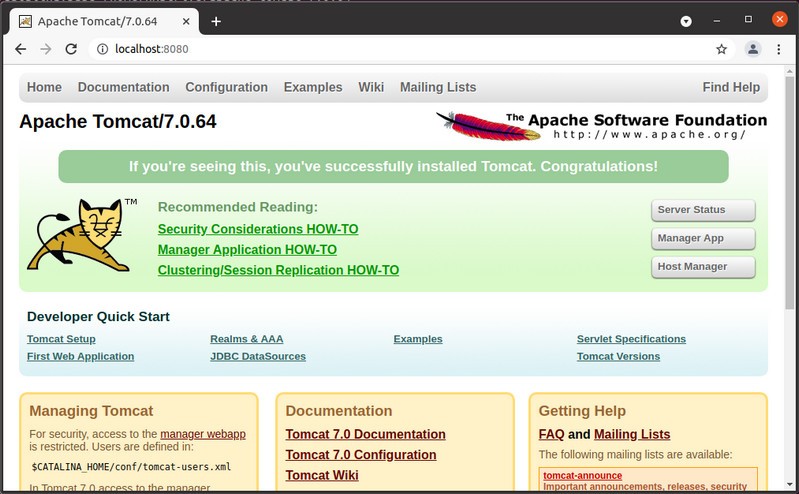
使用浏览器访问 http://localhost:8080 地址,如果能够看见如下图界面,则说明 tomcat 启动成功,可以访问。


