下面将介绍怎样通过 Prometheus、AlertManager 和 Webhook.site 三者来实现一个简单的 Prometheus 报警推送、提醒功能。
AlertManager 配置&运行
打开 AlertManager 的 alertmanager.yml 配置文件,添加 web.hook 配置信息,完整配置信息如下:
route:
  group_by: ['alertname']
  group_wait: 30s
  group_interval: 5m
  repeat_interval: 1h
  receiver: 'web.hook'
receivers:
  # - name: 'web.hook'
  #   webhook_configs:
  #     - url: 'http://127.0.0.1:5001/'
  - name: 'web.hook'
    webhook_configs:
      - url: 'https://webhook.site/8f9fef10-0c7d-4c05-8526-5ecc827dcf48'
        send_resolved: false
inhibit_rules:
  - source_match:
      severity: 'critical'
    target_match:
      severity: 'warning'
    equal: ['alertname', 'dev', 'instance']
上述配置中,我们添加了如下配置项:
  - name: 'web.hook'
    webhook_configs:
      - url: 'https://webhook.site/8f9fef10-0c7d-4c05-8526-5ecc827dcf48'
        send_resolved: false
读者可以将“https://webhook.site/8f9fef10-0c7d-4c05-8526-5ecc827dcf48”替换为你自己的 webhook 地址。
然后,使用 alertmanager --config.file=alertmanager.yml 命令启动 AlertManager 服务。
prometheus 广告位
Prometheus 配置&运行
在 prometheus 的主目录下面创建名为 simple_demo.yml 的配置文件,配置内容如下:
groups:
- name: simple_demo
  rules:
  - alert: test_alert
    expr: prometheus_http_requests_total{handler="/api/v1/targets"} > 5
    for: 1m
    labels:
      level: critical
    annotations:
      description: "The node is Down more than 1 minute!"
      summary:  "The  node is  down"
配置说明:
name:组名称,如:simple_demo
alert:告警规则的名称,在每一个 group 中,规则名称必须是唯一的。如:test_alert
expr:基于 PromQL 表达式配置的规则条件,用于计算相关的时间序列指标是否满足规则。上述的“prometheus_http_requests_total{handler="/api/v1/targets"} > 5”表示路径为 /api/v1/targets 的 http 请求总数大于 5。如果运行该 PromQL 能查询出数据,则表示触发报警规则。如果没有查询出数据,则告警没有触发;
for:评估等待时间,可选参数。当相关指标触发规则后,在 for 定义的时间区间内该规则会处于Pending 状态,在达到该时间后规则状态变成 Firing,并发送告警信息到 Alertmanager。
labels:自定义标签,允许用户指定要添加到告警信息上的一组附加标签。告警有三种等级,分别为warning、critical 和 emergency,严重等级依次递增。
annotations: 用于指定一组附加信息,如用于描述告警的信息文字等,本示例中 summary 用于描述主要信息,description 用于描述详细的告警内容。注意:summary 和 description 内容可以通过模版生成,生成动态的、更友好的提示信息,后续会介绍。
然后,修改 prometheus.yml 配置,将上面创建的 simple_demo.yml 规则文件添加到 Prometheus,以及配置 AlertManager 服务信息,配置如下:
...
# Alertmanager 配置
alerting:
  alertmanagers:
    - static_configs:
        - targets:
          # - alertmanager:9093
          # 指定 AlertManager 服务为本地 9093 端口
          - localhost:9093

# 加载规则一次,并根据全局 "evaluation_interval" 配置定期评估规则
rule_files:
  # - "first_rules.yml"
  # - "second_rules.yml"
  # 加载自定义的规则文件
  - "simple_demo.yml"
...
最后,重启 prometheus 服务,重启成功后:
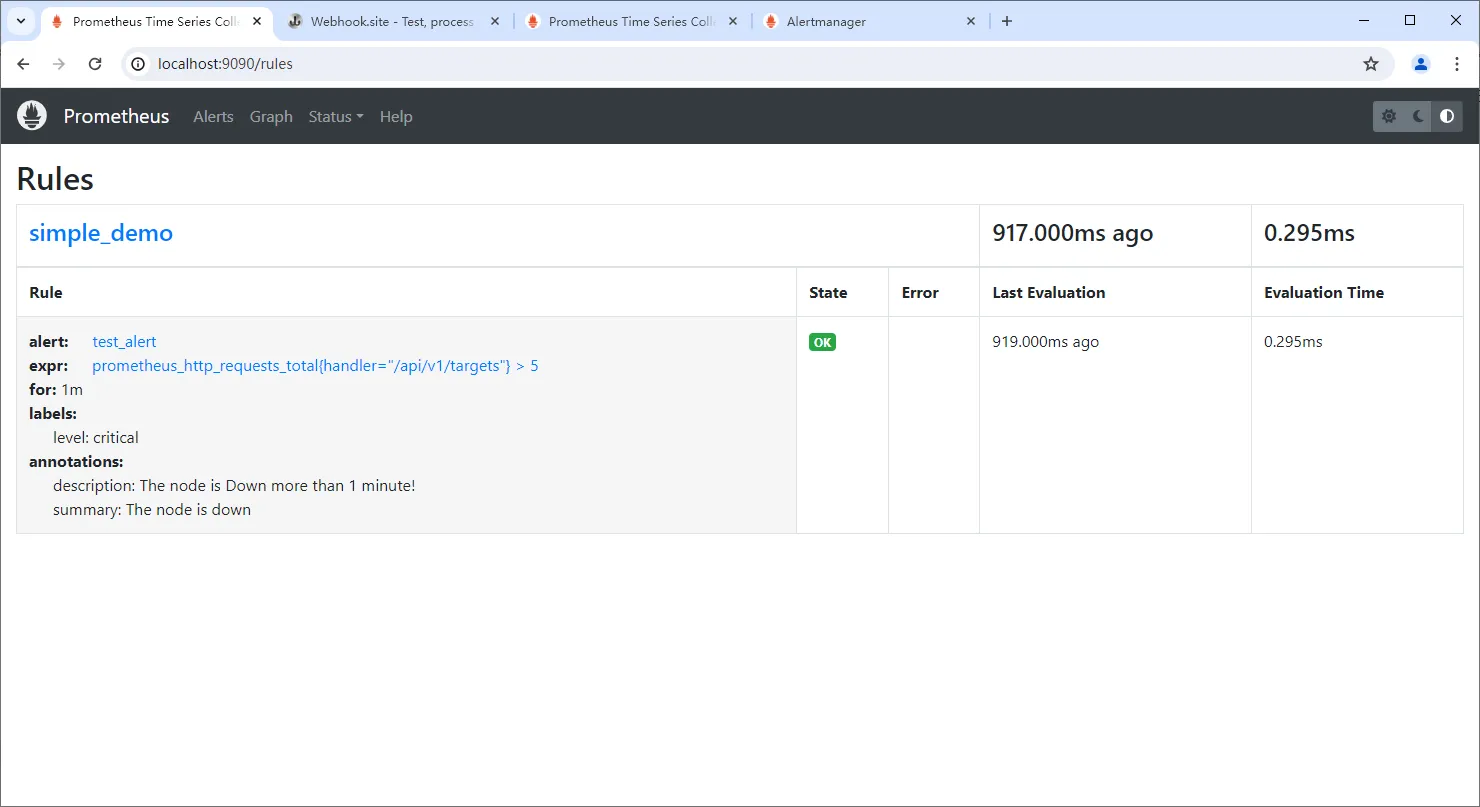
(1)访问 http://localhost:9090/rules 查看已经定义的报警规则,如下图:

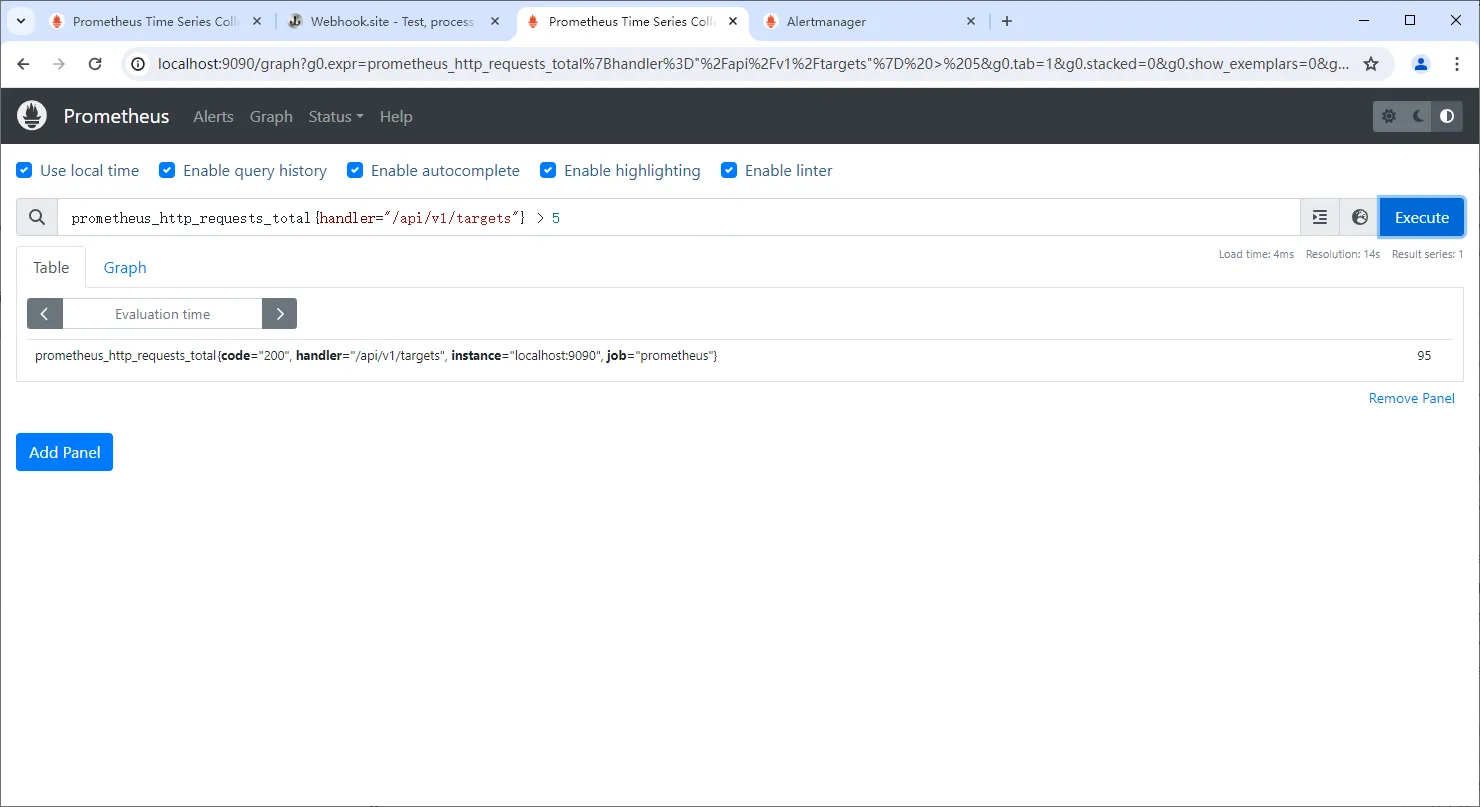
(2)使用 Prometheus 的查询页面,查询 PromQL 的数据,如下图:

(3)此时,将会触发报警规则,但是状态为 PENDING,因为有一个评估时间,见 for 配置项,如下图:

(4)当评估时间到达后,如果还是 PENDING 状态,则会转换成 FIRING,并且推送报警给 AlertManager,如下图:

(5)此时,AlertManager 将收到消息,可以访问 http://localhost:9093 就查看,如下图:

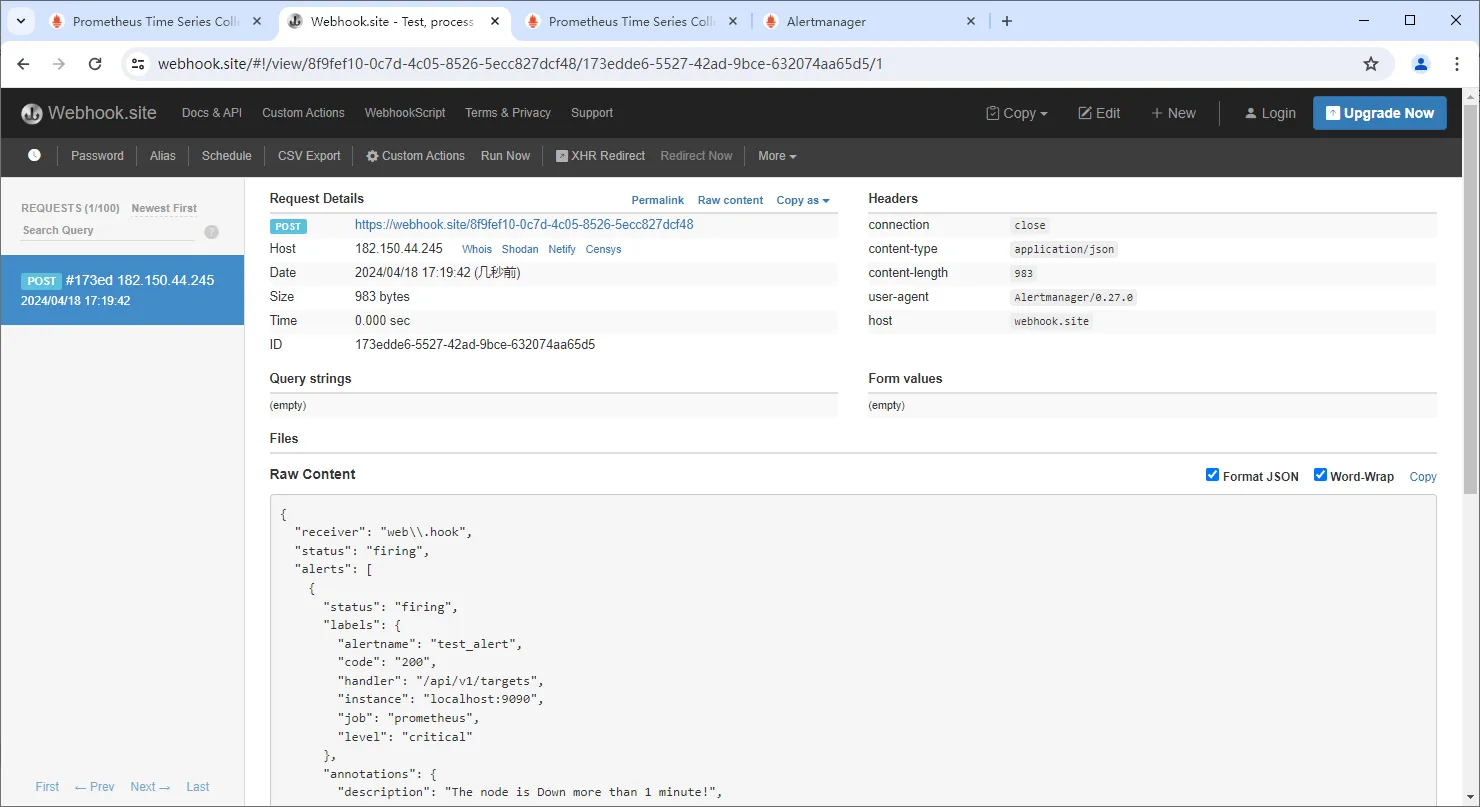
(6)最后,到 webhook.site 网站查看触发的请求,如下图:

到这里整个报警配置、触发的过程就结束了。
注意:读者可以通过浏览器刷新 http://localhost:9090/targets?search= 地址,增加 prometheus_http_requests_total{handler="/api/v1/targets"} 的请求总数,已到达满足 > 5 的条件。


