在前面章节我们已经成功搭建了用户服务和订单服务,下面将快速搭建 Gateway 服务,然后通过 Gateway 服务去调用订单服务。
Maven 依赖
注意,依然集成父项目,依赖如下:
<?xml version="1.0" encoding="UTF-8"?>
<project xmlns="http://maven.apache.org/POM/4.0.0" xmlns:xsi="http://www.w3.org/2001/XMLSchema-instance"
        xsi:schemaLocation="http://maven.apache.org/POM/4.0.0 https://maven.apache.org/xsd/maven-4.0.0.xsd">
   <modelVersion>4.0.0</modelVersion>
   <parent>
       <groupId>com.hxstrive.springcloud</groupId>
       <artifactId>springcloud_learn</artifactId>
       <version>0.0.1-SNAPSHOT</version>
       <relativePath/> <!-- lookup parent from repository -->
   </parent>
   <groupId>com.hxstrive</groupId>
   <artifactId>gateway_demo01</artifactId>
   <version>0.0.1-SNAPSHOT</version>
   <name>gateway_demo01</name>
   <description>gateway_demo01</description>

   <dependencies>
       <!-- 引入网关依赖 -->
       <dependency>
           <groupId>org.springframework.cloud</groupId>
           <artifactId>spring-cloud-starter-gateway</artifactId>
       </dependency>

       <!-- 添加 nacos 服务注册依赖 -->
       <dependency>
           <groupId>com.alibaba.cloud</groupId>
           <artifactId>spring-cloud-starter-alibaba-nacos-discovery</artifactId>
       </dependency>

       <dependency>
           <groupId>org.springframework.boot</groupId>
           <artifactId>spring-boot-devtools</artifactId>
           <scope>runtime</scope>
           <optional>true</optional>
       </dependency>
       <dependency>
           <groupId>org.springframework.boot</groupId>
           <artifactId>spring-boot-starter-test</artifactId>
           <scope>test</scope>
       </dependency>
   </dependencies>

   <build>
       <plugins>
           <plugin>
               <groupId>org.springframework.boot</groupId>
               <artifactId>spring-boot-maven-plugin</artifactId>
           </plugin>
       </plugins>
   </build>

</project>
gateway 广告位
网关配置
在 resources 目录下面创建 bootstrap.yml 文件,内容如下:
server:
 # 网关端口
 port: 9000

spring:
 application:
   # 服务名称
   name: gateway-demo01
 cloud:
   # nacos
   nacos:
     discovery:
       server-addr: localhost:8848
       username: nacos
       password: nacos
       group: DEFAULT_GROUP

   # 网关路由配置
   gateway:
     # 网关路由配置
     routes:
       # 路由id,自定义,只要唯一集合
       - id: service-order
         # 路由的目标地址
         uri: http://localhost:8081
         # 路由断言,也就是判断请求是否符合路由规则的条件
         predicates:
           # 按照路径匹配,只要以 /order/ 开头就符合要求
           - Path=/order/**
上面配置中,配置了一个路由 service-order,该路由将匹配所有以 /order/ 字符串开头的 PATH,当匹配成功后,将请求交给 http://localhost:8081 服务地址去执行。
启动类
启动类就是一个简单的 Spring Boot 启动类,代码如下:
package com.hxstrive.gateway_demo01;

import org.springframework.boot.SpringApplication;
import org.springframework.boot.autoconfigure.SpringBootApplication;

/**
* 入口类
* @author hxstrive.com
*/
@SpringBootApplication
public class GatewayDemo01Application {

   public static void main(String[] args) {
       SpringApplication.run(GatewayDemo01Application.class, args);
   }

}
启动&验证
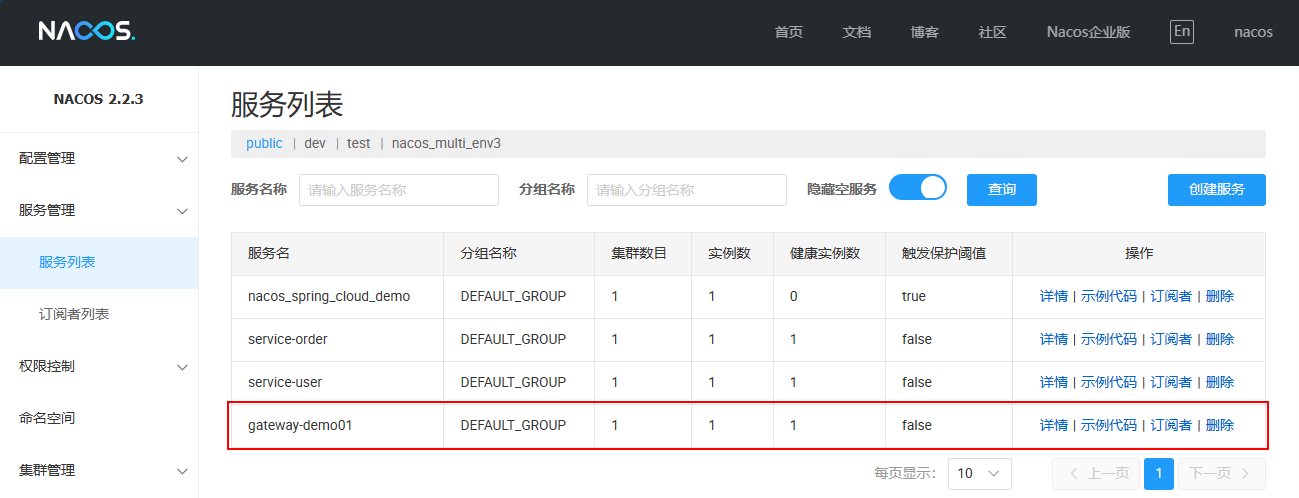
运行 GatewayDemo01Application 类,启动网关服务,如下图:
启动成功后,使用浏览器访问 http://localhost:9000/order/1 地址,输出如下:
{
   "id": 1,
   "title": "海尔冰箱335升 法式多门四开门冰箱 一级能效 风冷无霜 双变频省电 节能净味 家用大容量超薄变温 多门推荐 BCD-335WLHFD9DS9",
   "num": 1,
   "price": 2598,
   "userId": 1,
   "user": {
       "id": 1,
       "name": "张珊",
       "age": 27,
       "email": "zhangs@gmail.com"
   }
}
从上面的输出信息表示我们成功从网关访问到订单服务,要学习更多 Spring Cloud Gateway 相关知识,继续阅读后续章节……


 川公网安备51010802032098